Though I adopted nut milk into my morning routine years ago, I was always wary of making my own. Why? Well, with so many easy, convenient options available at the grocery store, I never felt the need to take the extra step. This was until recently when I had a major change of heart.

Two main reasons why store-bought nut milk isn’t all it’s cracked up to be: 1. the added preservatives and unnecessary junk and 2. it’s just so pricey.
First of all, most brands include preservatives, gums and emulsifiers to make the milk creamier, shelf stable and longer lasting. While these might seem harmless, additives such as carrageenan, guar gum and more have been seen to wreck havoc on our digestive track. They disrupt the microbiome which leads to gas, constipation and inflammation in the gut.
Secondly, it doesn’t take more than a stroll down the refrigerated section to notice how incredibly expensive a simple carton of nut milk can be. While I’m someone that prioritizes healthy products and budgets accordingly, this weekly purchase always stung a bit.
I even noticed that brands without the added junk, and thus those I tend to purchase, are even more expensive. Because of this, more people are likely to choose the less expensive, less healthy varieties.
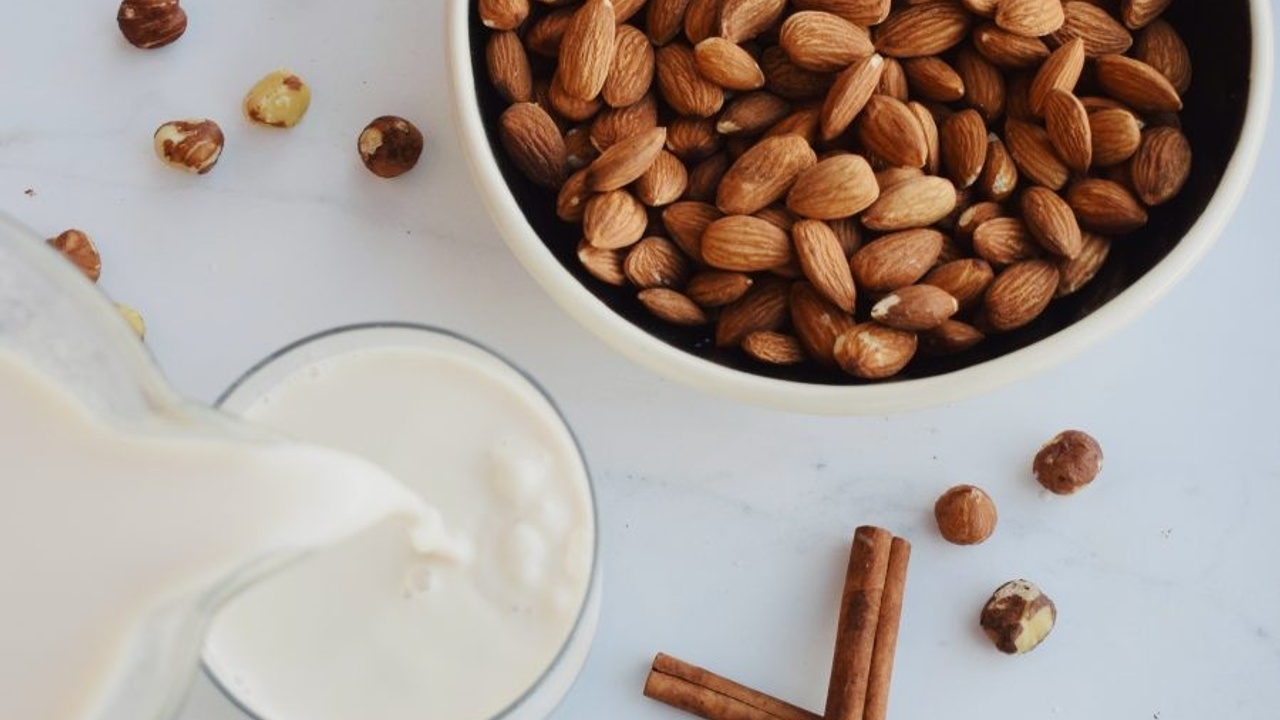
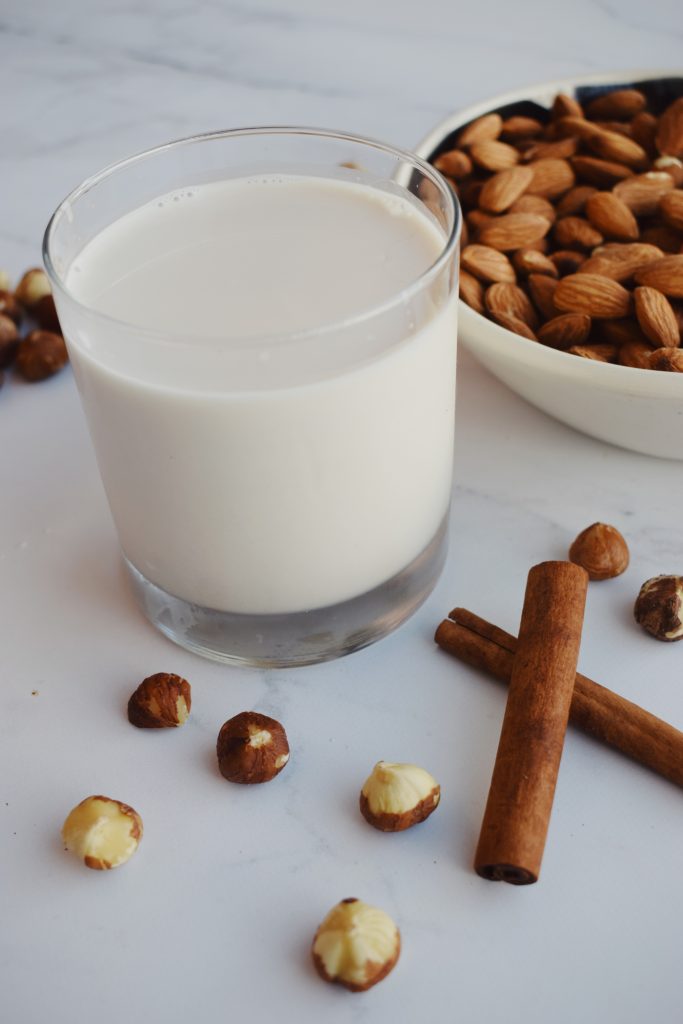
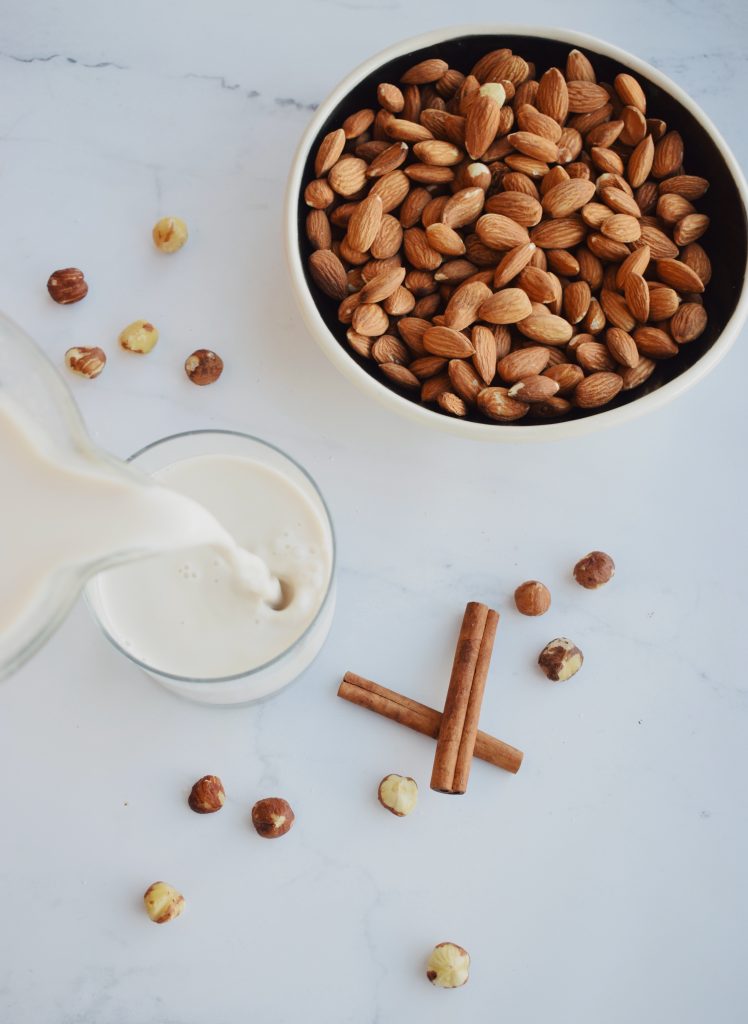
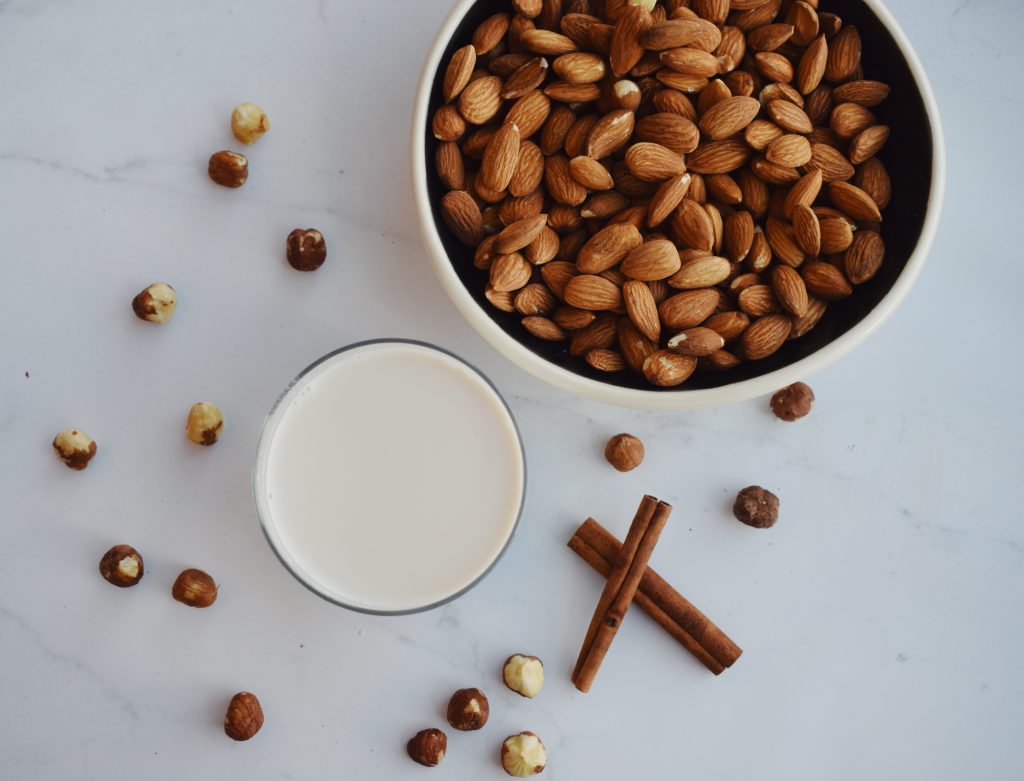
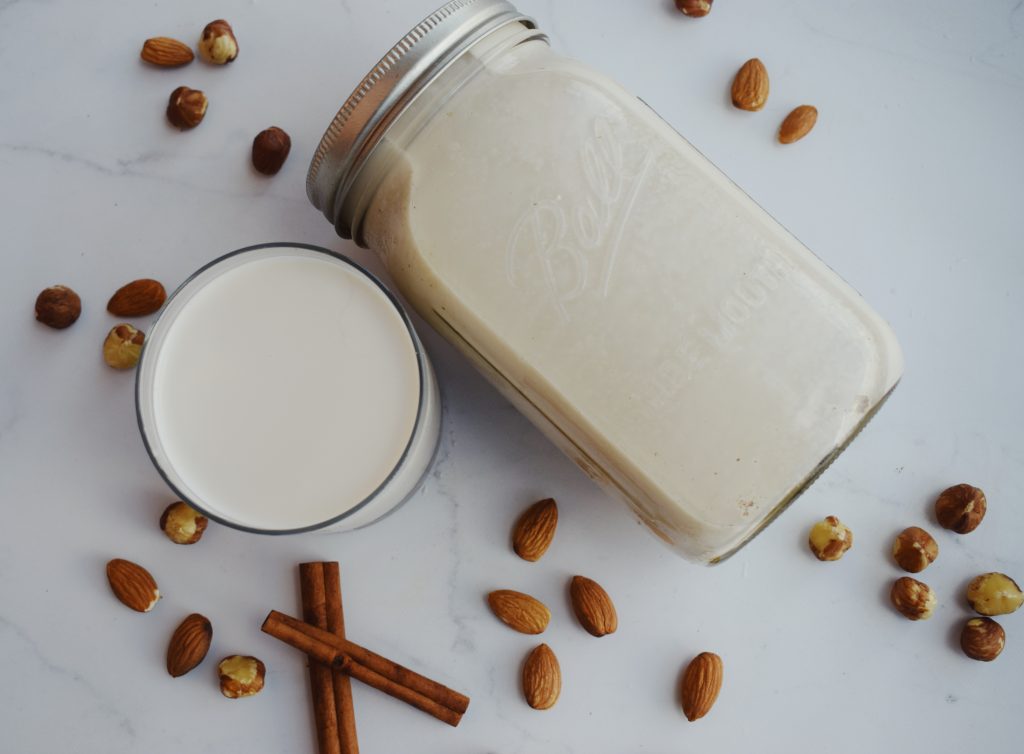
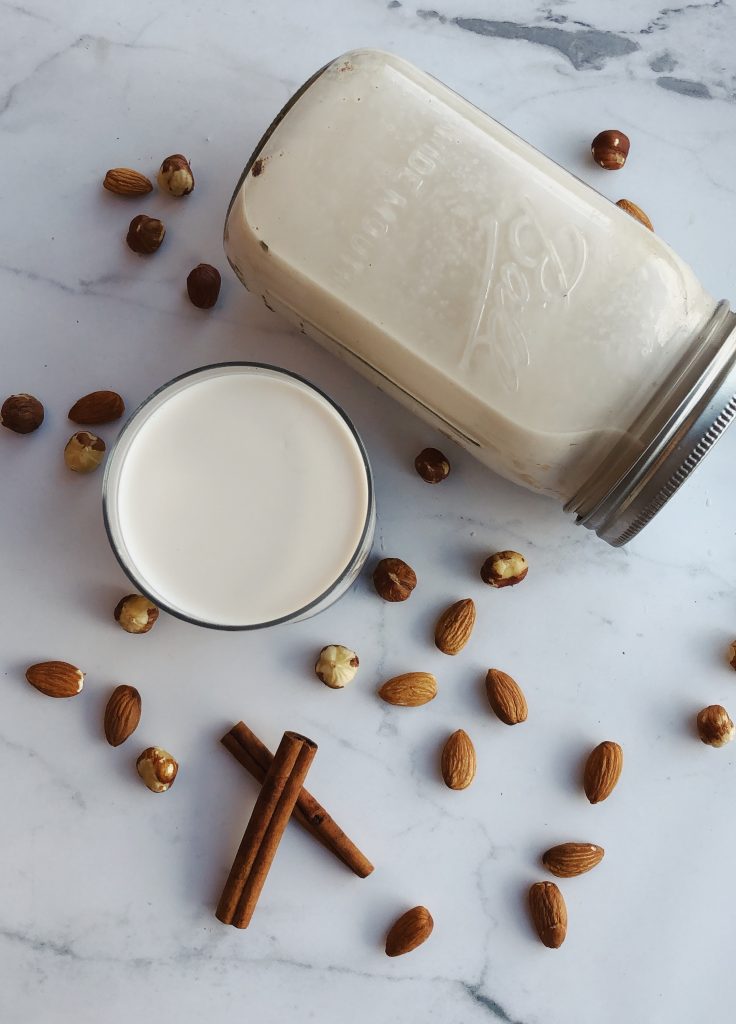
Keeping these factors in mind, I decided to give homemade nut milk a shot. Personally, I love the freedom to use whichever nuts I want, so this batch includes a combination of almonds and hazelnuts for a more complex, interesting flavor. Plus, these both provide healthy fats, vitamins and minerals for added nourishment in my morning coffee, matcha and more.

Not only are almonds one of my favorite nuts, but they’re also incredibly nutritious. Almonds are loaded with antioxidants, high in vitamin E, help control blood sugar and blood pressure, and can even lower cholesterol.
As for the hazelnuts, these flavorful and crunchy goodies have uses far beyond Nutella. Hazelnuts actually support healthy bowel movements (yay), protect your cells against damage, promote heart health and reduce inflammation.
Unlike store-bought nut milk, homemade luckily only requires two ingredients: nuts and water. Simply soak the nuts overnight or for at least 8 hours, drain and blend with filtered water in your high speed blender. Then, use a nut milk bag to remove the pulp, leaving you with a creamy, pure result.
For my batch, I used Ellie’s Best Nut Milk Bag, and the process was extremely easy. It’s inexpensive to purchase and will last batch after batch. All those years spent intimidated were put to rest after seeing how simple this bag made the process.

Finally, while you can certainly keep things plain and simple, I decided to add a bit of cinnamon and vanilla extract for added flavor. If you prefer a sweeter nut milk, feel free to blend with a bit of maple syrup, honey or dates before straining.
Not only did the milk end up delicious and smooth, but it also cost very little to make. Raw nuts can be purchased in bulk, so stock up and save yourself from those expensive pre-made brands. Plus, homemade reduces the possibility of consuming unnecessary and destructive additives. It truly is a win-win on all levels!
If you feel similarly to me in that making your own nut milk seems too labor-intensive and difficult, here is your sign to give it a shot. Find yourself a good nut milk bag, and the rest is simple. Not only will your wallet thank you, but your digestive system will be much happier as well.
This nutritious milk might just also become your new fridge staple, as it is in my kitchen. Add to everything from morning coffee and matcha to cereal, granola and more!
- 1 cup raw almonds
- 1 cup raw hazelnuts
- enough water to cover nuts and soak
- 10 cups filtered water
- 2 tsp vanilla extract
- 2 tsp ground cinnamon
*Note* Do not discard the pulp. I'll be sharing tasty recipes to put it to use soon!
Enjoy!
The latest goods, right in your inbox.
We hate SPAM. We will never sell your information, for any reason.